Dip powder manicures have become increasingly popular in recent years for long-lasting wear and a high-shine finish. However, if you’re looking to achieve the perfect dip powder manicure at home, there are a few tips and tricks you should keep in mind. This blog post will share some of our best tips for getting a flawless dip powder manicure, from prep to finish. So, whether you’re a dip powder beginner or a pro, read on for everything you need to know!
Doing dip powder nails at home
Dip powder manicures are all the rage these days and for a good reason! They give your nails a beautiful, long-lasting color that won’t chip or fade. Plus, they’re super easy to do at home.
If you’ve never done a dip powder manicure before, don’t worry. We’re here to help with some tips and tricks. Follow these steps, and you’ll be on your way to perfection in no time!
 Start with clean, dry nails.
This may seem like a no-brainer, but it’s important to make sure your nails are free of any oil or debris before you start your manicure. If your nails are dirty or oily, the dip powder won’t adhere correctly, and you’ll end up with a mess on your hands.
- Apply a base coat.
A base coat is essential for any manicure, but it’s especially important when using dip powder. The base coat will help protect your nails from staining and help the powder stick to your nails better.
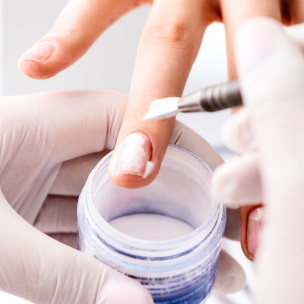
- Apply the first layer of dip powder.
Once your nails are prepped and ready, it’s time to start applying the dip powder. First, pour a small amount of powder into your palm and then use a brush to apply it to your nails. Make sure to apply it evenly and to the tip of your nails.
- Apply a second layer of dip powder.
Once the first layer of powder is dry, apply a second layer. This will help ensure that your nails are fully coated and that the color is nice and consistent.
- Apply a topcoat.
Finish off your manicure with a top coat to seal in color and protect your nails from chipping and fading.
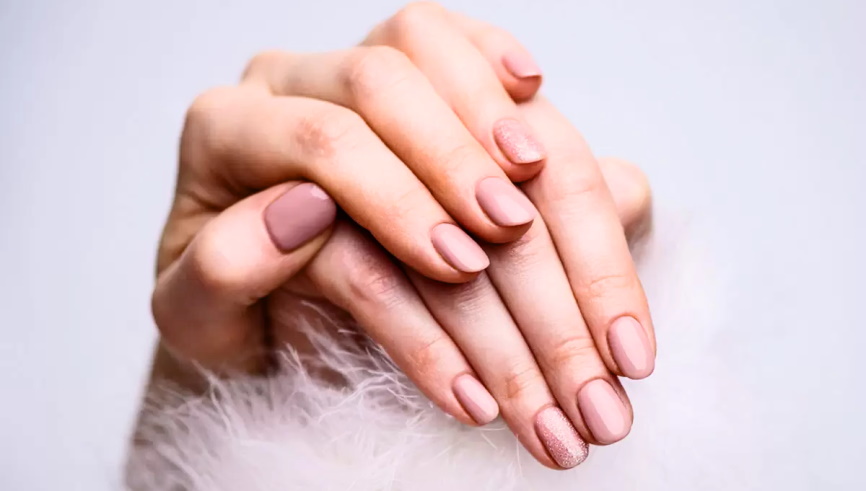
And that’s it! Your perfect dip powder manicure is now complete. Follow these tips, and you’ll be able to achieve salon-quality results at home, every time.
Differences between gel and dip powder nails
If you’re considering getting your nails done, you may be wondering what the difference is between gel and dip powder nails. Both options have their own unique benefits, so it’s important to choose the right one for you. Here’s a quick rundown of the differences between gel and dip powder nails: Gel nails are created by applying a special polish to your nails, which is then cured under UV light. This process helps to create a strong, long-lasting manicure. Dip powder nails are created by dipping your fingertips into a powder (usually acrylic) and then sealing it with a topcoat. This option can provide a more natural look and feel than gel nails.
There are several key differences between gel and dip powder nails. For one, gel nails require curing under a UV or LED light, while dip powder nails do not. Additionally, gel nails tend to be more expensive than dip powder nails. Finally, gel nails are typically thinner and more fragile than dip powder nails.